No products in the cart.

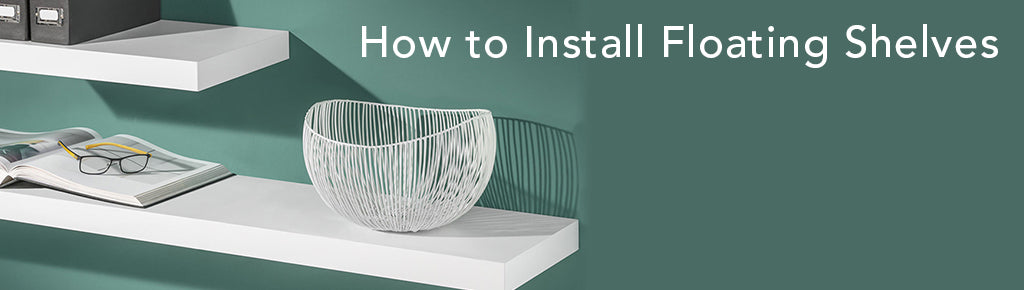
Floating Shelves, despite being incredibly popular, can be some of the most difficult and complex shelves to install. This is largely due to their concealed bracket that gives them their namesake "floating" effect. This page aims to answer all the questions you may have when assembling a floating shelf and act as a step-by-step guide through the process of installing floating shelves in your home or workplace.
We offer our Floating Shelf & Bracket kits in a variety of shapes, sizes and finishes such as White, Anthracite, Oak, Walnut and Gloss White in lengths from 250mm to 900mm depending on the finish.
What you'll need to start assembling your Floating Shelf:
- Floating Shelf Board & Bracket (Available Here)
- A Hammer
- Tape Measure
- Counterpunch
- Pencil
- Spirit Level
- Screwdriver
- Drill
- Sellotape
Step 1. Checking Your Wall
In order to determine the correct types of fixings to use to install the floating shelf bracket to your wall, you must check the construction of the wall and figure out the appropriate fixings for use with your wall.
Once you know which fixings to use you must also check your wall for any pipes and cables, that way you can avoid them when drilling into the wall as damaging them could be incredibly dangerous and expensive.
Step 2. Marking Your Fixing Hole PositionsHold your floating shelf bracket against the wall at the height you wish your floating shelf to be at and use a spirit level to make sure it is straight. Once you can confirm the bracket is straight make marks on the wall through each of the bracket's fixing holes, this will show you where in the wall you will need to place the wall fixings.
Step 3. Attaching The Wall FixingsDrill a hole through each pencil mark you created on the wall and then insert your wall plugs into said holes using a hammer. Once all of your wall plugs are inserted into the wall you are ready to attach your shelving bracket to the wall. |
 |
Step 4. Attaching Your Shelf Bracket & Floating Shelf To The WallHold your bracket in position, ensuring that the holes on the bracket line up with the wall plugs and using a screwdriver, screw the screws into the wall plugs tightly, ensuring that the bracket is tightly secured against the wall. |
 |
|
Once the Floating Shelf Bracket is properly attached to the wall simply slide the shelf onto the bracket and your shelving is complete!
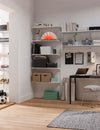
Easy to Assemble Floating ShelvesOur Floating Shelves are simple to install, minimalistic and suitable in a wide range of locations from the living room to your workplace! We provide modern, sturdy floating shelving in a variety of lengths and finishes so be sure to check out RBUK's full Floating Shelf Range by clicking the link below!
CLICK HERE TO VIEW OUR FULL FLOATING SHELF RANGE |
 |
Leave a comment
About Us
RBUK (Part of Nautilus Designs Ltd.) is an innovative supplier of Shelving Systems and Storage Solutions that was established over 30 years ago. RBUK are dedicated to adding value and supporting the growth of retailers in a demanding market.
Standards

Copyright © 2024. RBUK (A Division of Nautilus Designs Ltd)
Dudley Street, Bilston, West Midlands, WV14 0LA
All Rights Reserved.
Dudley Street, Bilston, West Midlands, WV14 0LA
All Rights Reserved.
